KIT & CABOODLE; KETTLE TO WHIRLPOOL

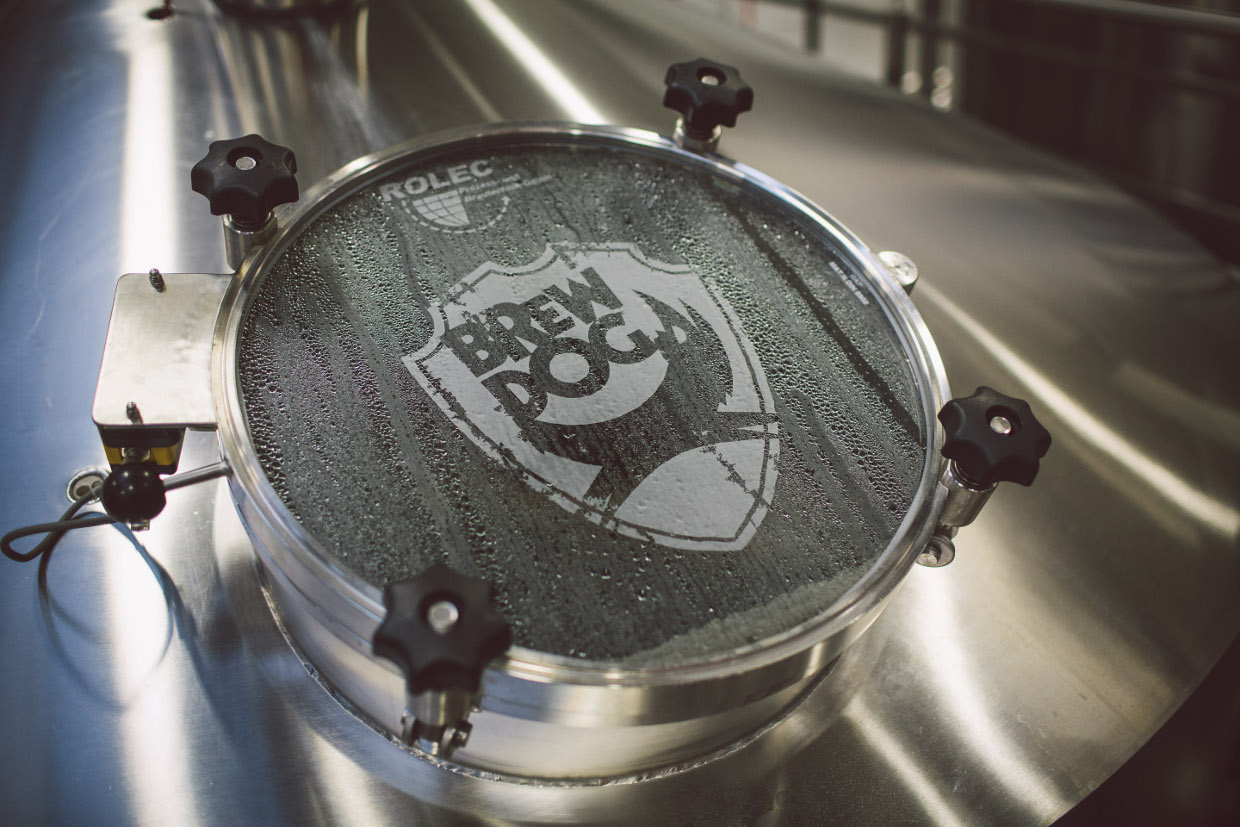
Our step-by-step guide to the gleaming machinery of our brewing process continues, as we move from the Mash and Lauter tuns to the next stage – the Kettle and the all-important Hop Dosing Unit, and then the swirling depths of the Whirlpool. But why do we need these? Let’s open the hatches and take a look!
KETTLE

To this point we have mashed, sparged and lautered – now we need to subject our hot, beery precursor to a more familiar adjective – it needs to be boiled. Following separation from the residual grain husks, the wort is pumped into the kettle and the most energy-intensive part of the brewing process begins; we get our boil on! Much like making a mid-morning cuppa (only without the digestive biscuits), our kettle heats the liquid up and boils it at a carefully-controlled 100°C. How carefully? At peak boil, the temperature in our 125HL kettle varies by only +/- 0.2°C!
As opposed to your tea-making kitchen kettles, our wort kettle does not have an electrical element to heat up the liquid inside, however. Instead, it has an external steam-powered boiler – an insulated tube-in-shell heat exchanger. Our hot, sticky wort is pumped through this, and super-heated. It then re-joins the kettle, raising the temperature there as well. This process occurs constantly throughout the boil; the wort circulation via the might of steam power!
So that’s the fundamentals of how we use our kettle – but the obvious question is, why? Who better than our BrewKing Franz to break down what we hope to achieve at this crucial stage…
- We evaporate water off to achieve desired Original Gravity (usually about 4% of the volume gets evaporated)…
- …this also helps to remove undesirable flavour compounds, such as Dimethyl sulphide (DMS).
- We also need to isomerise the alpha acids in the hops we add, as they are not dissolvable unless heated. Changing their chemical structure to iso-alpha acids contributes bitterness to the final beer.
- Sanitising the wort is important – boiling kills bacteria.
- There are also a couple of side-effects, the pH reduces (normally by about 0.1 to 0.2), and the colour of the wort increases, as the sugars and amino acids bind together.
- We extract flavour from the essential oils contained within the hops.
HOP DOSING UNIT

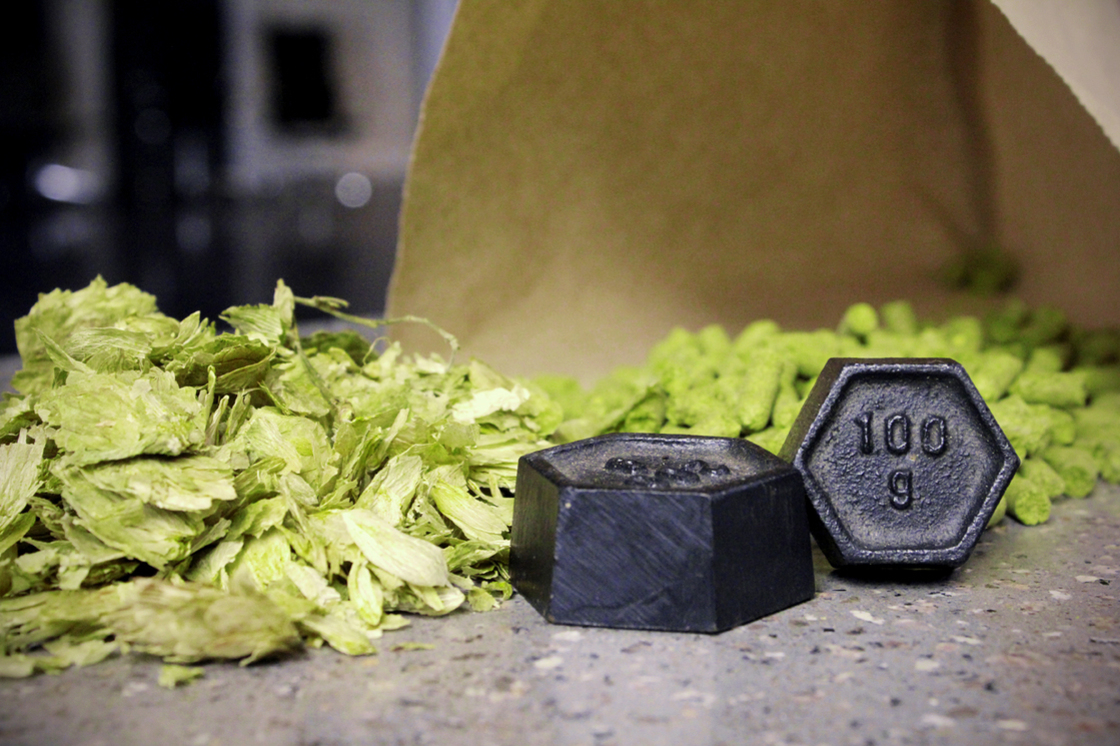
As Franz hinted at there, whilst all these things are going on, we also take the opportunity to start the process that makes BrewDog beers what they really are – we add hops! Back in our Fraserburgh days, we’d simply lever open the top of the kettle and throw handfuls inside (being careful not to steam off our forearm hairs in the process). Now though, we have an extra-special piece of kit to play with – our marvellous three sisters, the Hop Dosing Unit!
Patrick explains what our hop dosers are, and how their ingenious simplicity works…
“Basically the times that the hops are to be added are programmed onto the brewhouse software and the hops are added automatically. For example when the bittering hops are to be added at the beginning of the boil, wort passes from the kettle and into the hop dosers and back to the kettle, therefore introducing the hops into the brew. And the same for end-of-boil hop additions, it just occurs at the end of boil and is more for aroma.”
WHIRLPOOL

So our hot, sugary liquid – the much travelled wort – tumbles head over heels with multitudinous additions of hops. We’re well on the way to adding the yeast and letting it go to town. First, though, we need to solve a problem. Our proto-beer is certainly hoppier than it was (which people tend to like), but it’s also bittier than it was (which people don’t). Suspended in the wort are the remnants of hop pellets, coagulated proteins, and other particulates that don’t make for pleasant drinking – not to mention, they would interfere with the progress of our yeast as it ferments the sugars in the next stage. To get all these floaters out, we need to take it for a spin in the Whirlpool!
The fundamentals are pretty simple – we pump the turbid wort in, concentrating the flow around the edges. In terms of shape, the Whirlpool is distinctly lower and wider than the other brewing vessels – and this squat circular profile helps the fast-rotating liquid flow around the periphery and form a whirlpool in the centre. When spiralling around, you’d might expect the bits to flow to the perimeter and settle there; but the action of friction on the base of the Whirlpool causes a change in pressure, and the heavy solids collect in a neat cone the centre instead.
This effect was observed by scientists long ago, but was most famously commented on by Albert Einstein in 1926, where he coined the phrase ‘the tealeaf paradox’. If you stir a cup of loose-leaf tea, you’ll be able to see the process in action!

Okay, you’re back. The sediment that is collected is called ‘trub’, and it’s just a natural part of the brewing process to have to collect and remove this (homebrewers will do something similar, stirring with a sanitised spoon to create the circular flow, and then siphoning off from the sides to avoid clogging their siphon). Aside from this all-important process, the Whirlpool is also used for other functions – such as the judicious addition of another dose of hops! It also allows for wortcooling to take place; the warm liquid is lowered in temperature before being pumped into the fermentation tanks. Franz fills us in on the timings for all this, and the benefits to having our separate Whirlpool as opposed to removing the trub in the kettle…
It takes a little over ten minutes to pump all the wort from the Kettle, then it usually stands for fifteen minutes in the Whirlpool. The wortcooling stage is sixty-five minutes, then finally it’s about another ten to get all the trub out.
The advantage of having the Whirlpool as a separate vessel is that you save time; if you do all the wortboiling, the whirlpool and the wortcooling in or from one vessel, you have one brew for at least three hours in that vessel. That equates to eight brews in 24hrs – if you have a separate vessel, you can easily get near ten brews in one day; the wortkettle/whirlpool does not limit your brewhouse production.
So, there you have it! Our wort has been on a long and exciting journey through these vital pieces of beermaking kit, and is set for a cooling off period in one of our tanks. Next time in this series, we’ll be looking at some of the other important components of our brewery; the Clean in Place system, and our beraBREW Control! If you have any questions or comments about the Kettle to Whirlpool section, let us know in the comments field below!

Join the Discussion
Comments (9)